
If you’ve ever used a Ninja blender, you know that they are powerful and efficient. But like all blades, the blades on a Ninja blender will eventually become dull. When this happens, your blender will not be able to blend ingredients as smoothly. If you’re wondering how to sharpen Ninja blender blades, you’re in luck!
This blog post will show you how to sharpen ninja blender blades in a few easy steps. So don’t wait any longer and get started right away. We’ll go over everything you need to know about sharpening Ninja blender blades.
Sharpening ninja blender blades is vital for several reasons. One of the most important is that it maintains them clean. Dull blades tend to accumulate more residue and grime, which might eventually break them. On the other hand, Sharp blades can easily cut through all of that build-up, making them safer and more efficient.
Contents
What type of materials are required to sharpen ninja blender blades?
Materials needed to sharpen ninja blender blades depend on the type of blade being sharpened. For a standard Ninja blender blade, any sharpening stone will work. A serrated whetstone will be needed if the blade is serrated. Then we need water, a dish shop and old clothes.
How do you sharpen a ninja blender blade at home?
Unplug your blender from the electric source
For your safety, disconnect your ninja blender from the electric source.
To avoid any unplanned events (electric shock)
Before unplugging your blender, ensure your hands are dry.
Wear any protective glove before sharpening your ninja blender blade
Remove the jar from the base.
After removing your blender from the electric source, remove the jar from its base carefully and slowly.
Dismantle the plastic or glass jar from the blade, then clean your jar
The same measures are also applied while cleaning your base jar.
Wipe the base jar thoroughly using a brush or a damp towel
The blender and base should remain clean after sharpening the blade. use a mild brush washer or any piece of cloth to clean the blender
Remove the edges from the bottom of your blender.
It’s difficult to sharpen blades attached to the base and so ensure you remove them from the bottom of your blender. You’ll easily sharpen the blade’s edges without any difficulty when removed from the bottom of your blender.
Check on the bottom of your blender that holds the blender’s blades.
While wearing protective gloves, hold the base of your blender with your left hand with great care.
Turn the edges anticlockwise using your right hand, then separate them. After that, put your blades on top of a table beside you.
Carefully place the pitcher on the counter. It’s made of glass, so handle it with extreme caution.
Clean the blades
Soak a toothbrush inside white vinegar or soapy water, then brush the blades till clean.
You can also clean the stainless steel blades using a Polident tablet. However, you’re required to keep the edges in the mixture for not less than 30 minutes.
You can use a sponge to get rid of the metal fragments.
Ensure no food leftovers remain on your blades after cleaning them
You can use both ways to clean your blades.
Sharpen the blades
It’s the moment you’ve been waiting for. The most important part,
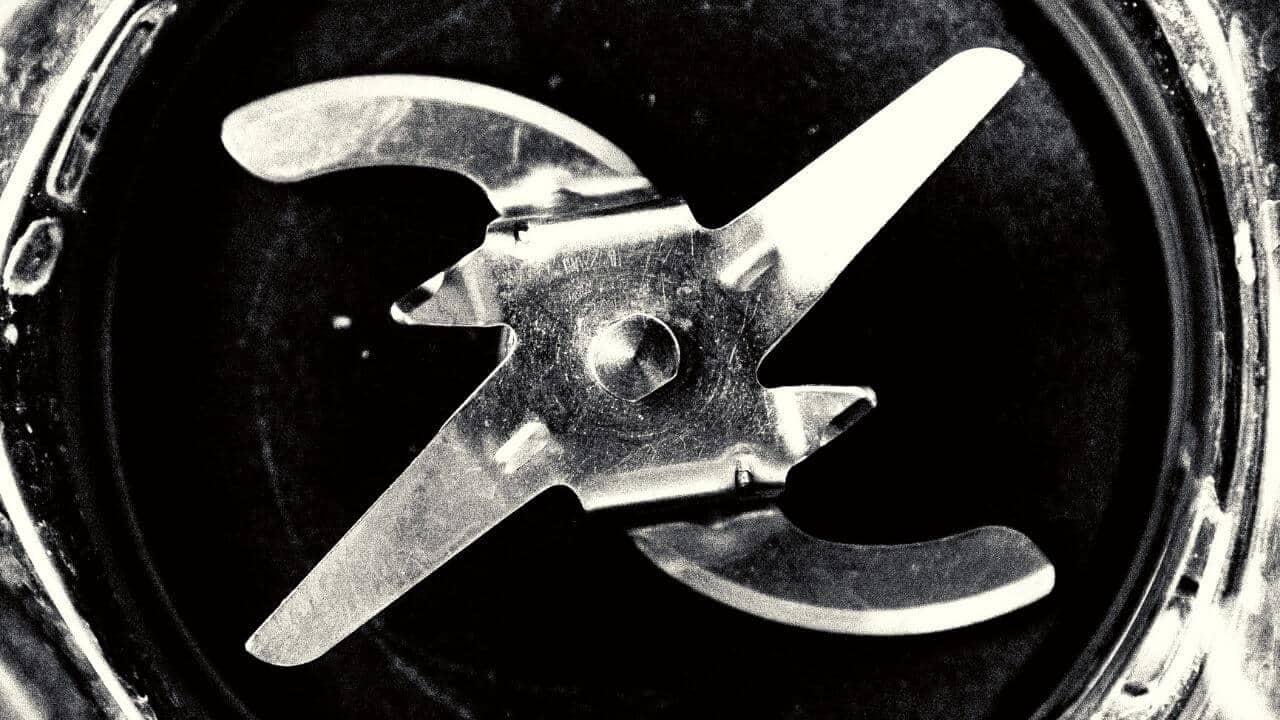
The four blades of your blender should be sharpened separately.
Hold the blades using your left hand. Similarly, using your right hand, hold the sharpening plate or rod.
Slowly run the sharpening plate or rod across a few times the four sides of your first blade you’re you have your knives sharpened.
Use the same process; sharpen the other pieces of blades until sharp as required.
Ensure you maintain a safe physical distance when sharpening. Wear protective gloves in your hand as you hone your blades slowly
Remember to go slow, or else you’ll risk cutting yourself.
What’s the result If you sharpen the edges too quickly?
you’ll ruin them completely
Also, after sharpening the knives, dry them using a towel.
Reassemble the blender
At this point, you’ve done most of the required work, and all that’s remaining is to clean the blade one more time using a wet rag and then dry it using a towel.
Then, put the blade in the base and wax the ring to seal it.
Hold the blender pitcher, then fix the base back on.
You’ve made it to the finish line. Attach the entire piece back to the electronic base, then plug it to confirm whether your blades are sharp as expected
Frequently asked questions
Can I sharpen ninja blades at home?
Yes, you can sharpen ninja blades at home using eggshells.
- After breaking your eggs, store the egg’s shells inside a freezer for them not to rot.
- Use a bowl or a paper towel to store them inside your freezer.
- Put a few eggshells inside your blender, then add water. Run your machine till the eggs crush.
Please don’t throw the eggshells because they don’t want the drain as they can block your pipe but instead dispose of them in the trash.
Why does my new Ninja blender smell like it’s burning?
This is a common problem for new blender users. There are a few ways that a blender can smell burning.
One possibility is if the blades are not sharpened properly. When the blades hit food, they can create small pieces of metal that get caught in the motor, and over time these pieces can start to spark and eventually cause a fire. If you notice your blender smelling burnt, it is probably time to sharpen it.
Are Ninja Blenders dishwasher safe?
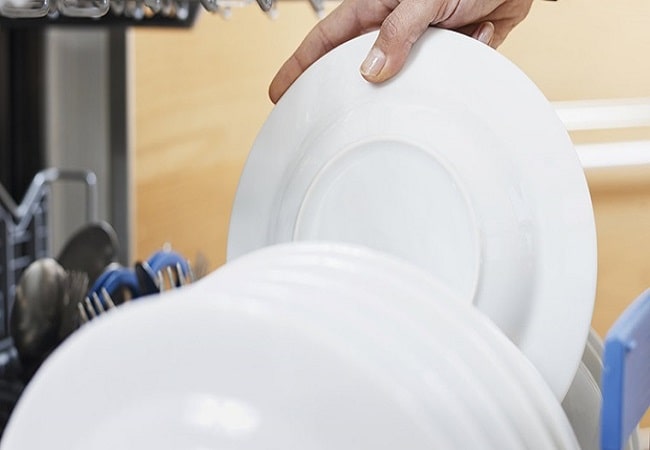
As Ninja® Blenders quickly become one of the most popular appliances in the home, it is important to know if they are dishwasher safe.
Ninja has stated that their blenders are safe to wash in a dishwasher. The only caution they give is not to overfill the dishwasher and place the blender on its side so that the blades do not touch any sharp edges on the sides or bottom of the machine.
Suppose you are concerned about your Ninja blender’s ability to withstand harsh washing conditions. In that case, it may be a better idea to hand wash it instead.
How can I replace ninja blender blades?
Ninja Blender Blade replacement can be tricky but not too bad. You will need a Phillips head screwdriver, blade sharpener, and pliers.
The first step is to remove the blade by unscrewing the three screws on the side. Once the screws are out, you can take off the blade.
Next, you will need to sharpen your new blade. To do this, you will need to use a sharpener and pliers to adjust the angle of the blade until it is razor-sharp.
Finally, replace the blade by reattaching it to the blender using screws and washers.
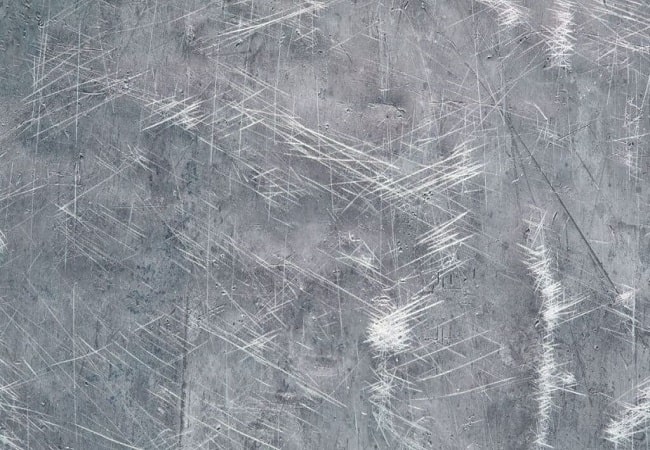
Do ice cubes dull blender blades?
Yes, ice can cause the blades to become dull. To avoid this, make sure to use fresh ice every time you blend. If the blades are excessively dull, you can sharpen them using a sharpener.
Conclusion
In conclusion, following these simple steps will help keep your ninja blender blades sharp and performing at their best. Regularly sharpening your blades will help them cut through food more easily, preventing sticking and requiring less effort on your part. So the next time you’re in the kitchen, don’t forget to put your ninja blender to work – and keep those blades sharp!
Leave a Reply